


This topic describes the basic principles of exporting a table from one database to another. If you need more details for certain database types, try to search among next topics. If you cannot find an example for your database type, try to rework some existing example where the source and/or target database type is the same or similar to yours.
Export Preparation
It is recommended to register both the source and the target databases before you start to configure your export process.
Both databases must support the same architecture: 32-bit or 64-bit. I.e. both databases must be successfully opened in one Database Tour instance.
Note: On our websites, you can find both versions of Database Tour: 32-bit and 64-bit. Please check which one you are downloading. If your operating system is 64-bit, you can install both Database Tour 32-bit and Database Tour 64-bit and use them independently. Please also note that one user license covers both 32-bit and 64-bit versions.
Export Steps
- Open the source database.
- Open your source dataset, i.e. select a table from the table list or execute a SQL query.
- If you chose the table, switch to Data page.
- Click Export button
 from the toolbar above.
 - Switch to Database page and select the destination database. Choose needed export options.
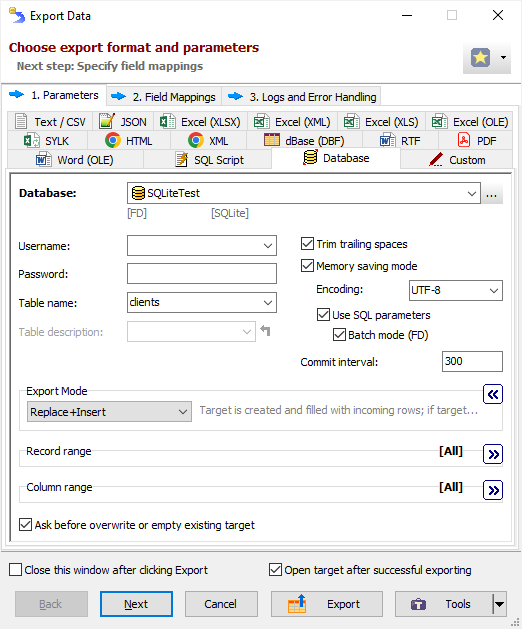
- Click Next and specify source-to-target field mappings, i.e. the correspondence between source and target fields (columns). Here, you can specify full column specifications for target columns here; they will be applied when the the target table does not exist or needs recreating.
You can skip this step by clicking Export instead of Next; in this case the correspondence between source and target fields/columns will be built automatically. - Click Export to begin the export procedure. You can interrupt the process by pressing ESC or by clicking Cancel in additional window which is shown during the exporting process.
See also